How To Use SSH Remote IoT On Mac: A Comprehensive Guide
SSH Remote IoT on Mac is a game-changer for developers and tech enthusiasts alike. Whether you're managing remote servers, controlling IoT devices, or simply streamlining your workflow, mastering SSH is essential. In this guide, we'll walk you through everything you need to know about setting up and using SSH for remote IoT on your Mac. So, buckle up and let's dive right in!
If you're reading this, chances are you're already aware of the power of SSH. Secure Shell Protocol, or SSH, is like your personal key to unlock doors in the digital world. But when it comes to IoT devices, the stakes are higher. You need to ensure your connection is secure, reliable, and easy to manage. And guess what? Your Mac is perfectly equipped to handle all of that.
This article isn't just another tech jargon-filled guide. We're breaking it down step by step, making sure even a beginner can follow along without feeling overwhelmed. By the end of this, you'll be confidently using SSH to manage your IoT devices from the comfort of your Mac.
- Rosenblum Leaks The Inside Story Thatrsquos Making Waves Across The Globe
- John Travolta Rumors The Truth Behind The Headlines
What is SSH and Why Should You Care?
SSH stands for Secure Shell Protocol, and it's basically your best friend when it comes to secure communication between devices. Imagine you're trying to access a server or an IoT device from miles away. Without SSH, you'd be leaving yourself vulnerable to hackers and other security threats. But with SSH, you can rest easy knowing your connection is encrypted and secure.
Here are some quick reasons why SSH is a must-have:
- Encryption for secure communication
- Authentication to ensure only authorized users can access
- Flexibility to work with various devices and platforms
- Compatibility with Mac, Linux, and Windows systems
For Mac users, SSH is already built into the system, so you don't need to install anything extra. That's right—your Mac is ready to rock right out of the box!
- Alice Roseblum Onlyfans Leaks What You Need To Know Before Its Too Late
- Alice Rosenblum Leaked Onlyfans The Untold Story You Need To Know
Why Use SSH for Remote IoT on Mac?
IoT devices are everywhere these days. From smart thermostats to industrial sensors, they're revolutionizing the way we interact with technology. But managing these devices remotely can be a challenge. That's where SSH comes in.
Using SSH for remote IoT on Mac offers several advantages:
- Security: SSH encrypts all data transmitted between your Mac and the IoT device, keeping prying eyes at bay.
- Convenience: You can control your IoT devices from anywhere in the world as long as you have an internet connection.
- Efficiency: SSH allows you to automate tasks and scripts, saving you time and effort.
Think of SSH as the Swiss Army knife of remote access tools. It's versatile, reliable, and perfect for managing IoT devices on your Mac.
Setting Up SSH on Your Mac
Before you can start using SSH to manage your IoT devices, you need to set it up on your Mac. Don't worry—it's easier than you think!
Step 1: Enable SSH on Your Mac
By default, SSH is disabled on most Macs. To enable it, follow these steps:
- Go to System Preferences and click on Sharing.
- In the Sharing window, check the box for Remote Login.
- You'll see a message saying "To log in to this computer remotely, type 'ssh username@computer-name'." Make a note of the username and computer name—you'll need them later.
And that's it! Your Mac is now ready to accept SSH connections.
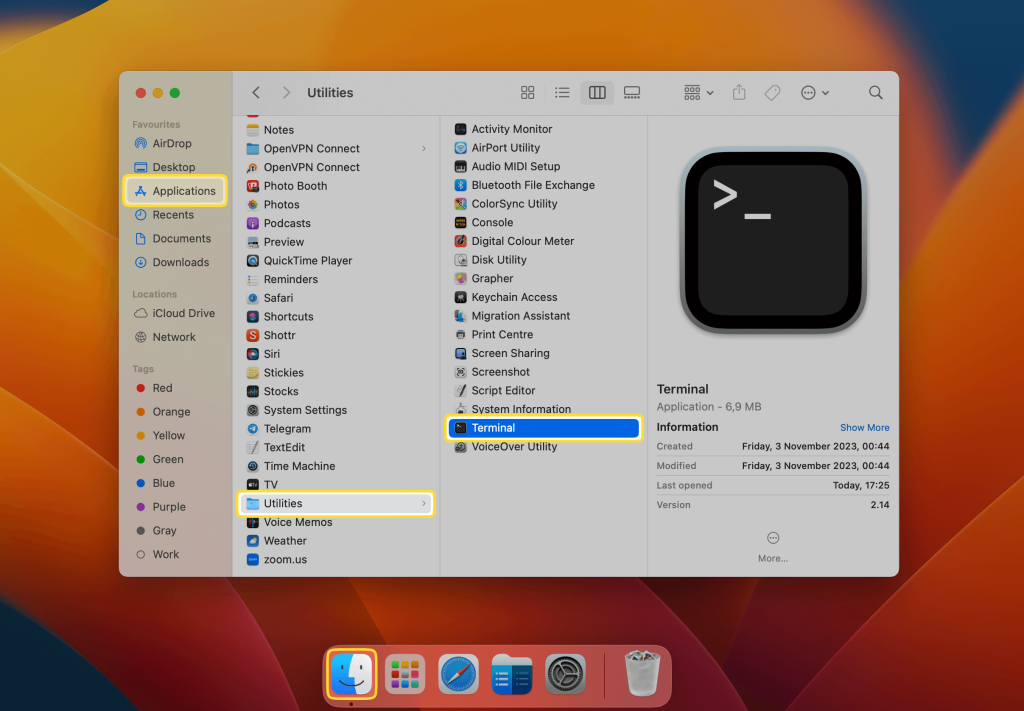
Step 2: Install an SSH Client
While your Mac already has an SSH client built-in, you might want to consider using a third-party client for additional features. Some popular options include:
- PuTTY (for Windows users)
- Tera Term
- Termius
For Mac users, the built-in Terminal app is more than enough for most tasks. Just open Terminal and type "ssh" followed by your username and the IP address of your IoT device.
Connecting to Your IoT Device via SSH
Now that you've set up SSH on your Mac, it's time to connect to your IoT device. Here's how you do it:
Step 1: Find the IP Address of Your IoT Device
Before you can connect to your IoT device, you need to know its IP address. You can usually find this information in the device's settings or by checking your router's connected devices list.
Step 2: Open Terminal and Enter the SSH Command
Once you have the IP address, open Terminal on your Mac and type the following command:
ssh username@ip-address
Replace "username" with the actual username for your IoT device and "ip-address" with the device's IP address. Press Enter, and you'll be prompted to enter your password.
And just like that, you're connected!
Securing Your SSH Connection
Security should always be a top priority when working with SSH. Here are a few tips to keep your connection safe:
1. Use Strong Passwords
A strong password is your first line of defense against unauthorized access. Make sure your password is at least 12 characters long and includes a mix of uppercase and lowercase letters, numbers, and symbols.
2. Enable Two-Factor Authentication (2FA)
Two-factor authentication adds an extra layer of security to your SSH connection. Even if someone manages to guess your password, they won't be able to access your device without the second factor.
3. Disable Root Login
Root login allows anyone with the root password to gain full control of your system. To prevent this, disable root login and use a regular user account instead.
By following these tips, you can ensure your SSH connection is as secure as possible.
Automating Tasks with SSH
One of the coolest things about SSH is its ability to automate tasks. Whether you're running scripts or managing multiple IoT devices, SSH can save you a ton of time.
Here are a few examples of how you can use SSH for automation:
- Script Execution: Run scripts on your IoT devices without needing to log in manually each time.
- File Transfers: Use SCP (Secure Copy Protocol) to transfer files between your Mac and your IoT devices securely.
- Remote Command Execution: Execute commands on your IoT devices directly from your Mac using SSH.
The possibilities are endless, and the more you experiment, the more efficient your workflow will become.
Troubleshooting Common SSH Issues
Even the best-laid plans can go awry sometimes. If you're having trouble with SSH, here are a few common issues and how to fix them:
1. Connection Refused
If you're getting a "Connection refused" error, it could mean that SSH isn't enabled on your IoT device. Double-check that SSH is turned on and that the IP address is correct.
2. Permission Denied
A "Permission denied" error usually means there's an issue with your username or password. Make sure you're entering the correct credentials and that you have the necessary permissions to access the device.
3. Timeout Errors
Timeout errors can occur if there's a network issue or if the device is too far away. Try connecting from a closer location or check your internet connection.
With a little troubleshooting, you should be able to resolve most SSH issues in no time.
Best Practices for Using SSH with IoT Devices
To get the most out of SSH when working with IoT devices, here are a few best practices to keep in mind:
1. Keep Your Software Up to Date
Regularly update your Mac and IoT devices to ensure you have the latest security patches and features.
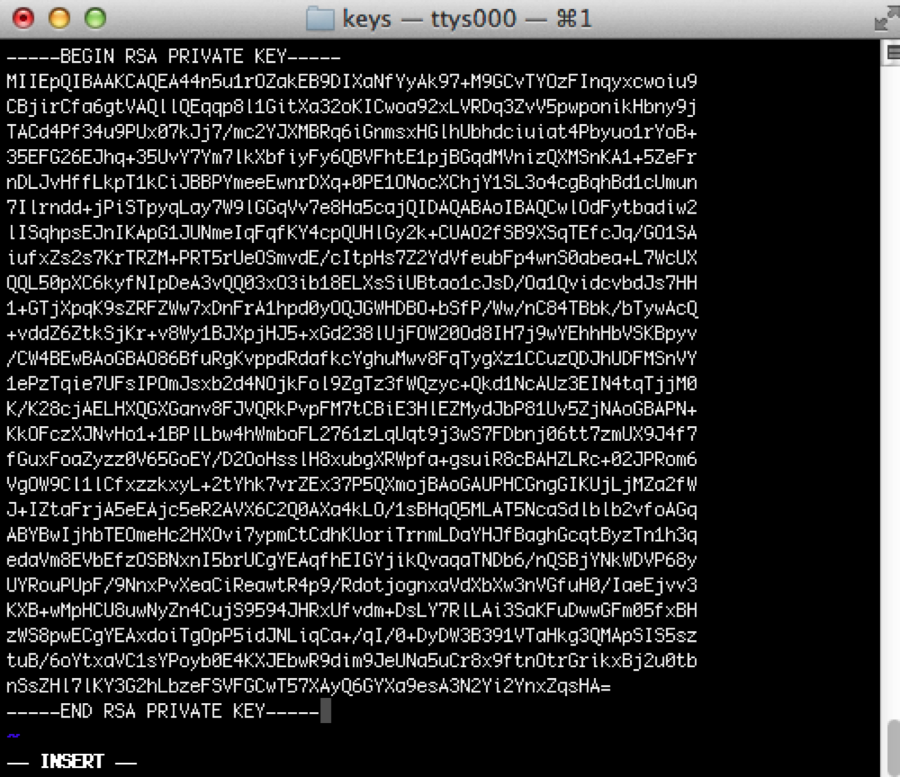
2. Use Key-Based Authentication
Instead of relying on passwords, consider using key-based authentication for added security.
3. Monitor Your Connections
Keep an eye on who's accessing your devices and when. This can help you catch any suspicious activity early on.
By following these best practices, you'll be well on your way to mastering SSH for IoT on your Mac.
Conclusion
SSH is an incredibly powerful tool for managing remote IoT devices on your Mac. From setting up secure connections to automating tasks, SSH offers a wide range of features that can streamline your workflow and improve your productivity.
Remember, security is key when working with SSH. Always use strong passwords, enable two-factor authentication, and keep your software up to date. And don't forget to experiment with automation to make your life easier.
Now that you know how to use SSH remote IoT on Mac, it's time to put your newfound skills into practice. So go ahead, connect to your IoT devices, and start exploring the possibilities. And if you found this guide helpful, be sure to share it with your friends and colleagues. Happy SSH-ing!
Table of Contents
What is SSH and Why Should You Care?
Why Use SSH for Remote IoT on Mac?
Connecting to Your IoT Device via SSH
Troubleshooting Common SSH Issues
Best Practices for Using SSH with IoT Devices

Detail Author:
- Name : Mr. Francisco Kuhlman
- Username : kenton70
- Email : abbey68@yahoo.com
- Birthdate : 1976-11-04
- Address : 4609 Price Shore New Geraldside, NY 54692
- Phone : (458) 888-1408
- Company : Jerde-Gorczany
- Job : Home Health Aide
- Bio : Inventore labore voluptas tenetur temporibus at voluptates sed. Debitis repellendus incidunt laborum dolores sunt. Quasi a iure nulla fuga eos voluptas et exercitationem.
Socials
tiktok:
- url : https://tiktok.com/@ahansen
- username : ahansen
- bio : In aut quae laborum eos in.
- followers : 4473
- following : 789
facebook:
- url : https://facebook.com/hansen1980
- username : hansen1980
- bio : Rerum dolor ipsa esse eaque rerum dolorum occaecati.
- followers : 6448
- following : 379
