How To Securely Connect IoT Devices Via SSH On Mac: The Ultimate Guide
Connecting IoT devices using SSH on a Mac can seem intimidating at first, but it's actually simpler than you think. If you're diving into the world of IoT (Internet of Things), understanding SSH (Secure Shell) is crucial. Whether you're managing smart home devices or setting up remote servers, SSH acts as your digital key to unlock and control these devices securely. So, let's break it down step by step so even a total noob can follow along.
Let’s face it—IoT devices are everywhere now. From smart thermostats to security cameras, they’re all connected to the internet. But with connectivity comes responsibility, right? That’s where SSH comes in. SSH ensures that your data stays safe while you interact with your IoT devices. Think of it like sending a secret message in a bottle, but instead of water, it’s encrypted data traveling through cyberspace.
Now, if you're sitting there thinking, "Wait, I have no idea how SSH works," don't sweat it. This guide is designed to take you from zero to hero in no time. We'll walk you through everything you need to know about connecting IoT devices via SSH on your Mac, complete with tips, tricks, and some pro-level advice to keep your setup rock solid.
- Alice Roseblum Onlyfans Rising Star Content And Secrets You Need To Know
- Kristi Neom Bikini The Ultimate Guide To This Iconic Fashion Trend
What is IoT and Why Should You Care?
Alright, before we dive headfirst into SSH, let’s quickly talk about what IoT actually is. IoT stands for Internet of Things, and it basically means all those gadgets and devices around you that can connect to the internet. Yeah, we're talking about your smart fridge, fitness trackers, and even your voice-activated assistant like Alexa or Google Home.
IoT makes life convenient, no doubt. But here's the kicker—it also opens up potential security risks. Imagine someone hacking into your smart door lock or spying on your security camera feed. Scary, right? That's why securing your IoT devices is super important, and SSH is one of the best ways to do just that.
Why SSH Matters for IoT Devices
SSH is like the Swiss Army knife of network security. It creates an encrypted connection between your computer (or in this case, your Mac) and your IoT device. This means any commands you send or data you receive are protected from prying eyes. Cool, right?
- Camilla Araujos Job On Onlyfans A Comprehensive Guide
- Darlaeliza Onlyfans The Ultimate Guide To Her Rise Content And Impact
- SSH encrypts all data, making it hard for hackers to intercept.
- It provides secure access to remote devices, which is perfect for IoT setups.
- SSH supports authentication methods like passwords and public keys, giving you multiple layers of security.
So whether you're controlling a drone or monitoring a weather station, SSH keeps everything under lock and key.
Setting Up SSH on Your Mac
Now that we’ve covered the basics, let’s get practical. Your Mac already has SSH built-in, so you don’t need to install anything extra. All you need is the Terminal app, which is like the command center for your Mac. Here's how you can find it:
- Open Spotlight by pressing
Cmd + Space. - Type “Terminal” and hit Enter.
- Voilà! You’re now in the Terminal app.
Once you’re in Terminal, you’re ready to start configuring SSH. Easy peasy.
Enabling SSH on Your IoT Device
Before you can connect to your IoT device via SSH, you need to make sure SSH is enabled on the device itself. Most IoT devices come with SSH disabled by default for security reasons. Here’s how you can enable it:
- Check your device’s documentation or settings menu for SSH options.
- Log in to the device’s admin interface, usually through a web browser.
- Look for an option labeled “Enable SSH” or something similar.
- Save the changes and reboot the device if necessary.
Every IoT device is different, so be sure to consult the manual or manufacturer’s website for specific instructions.
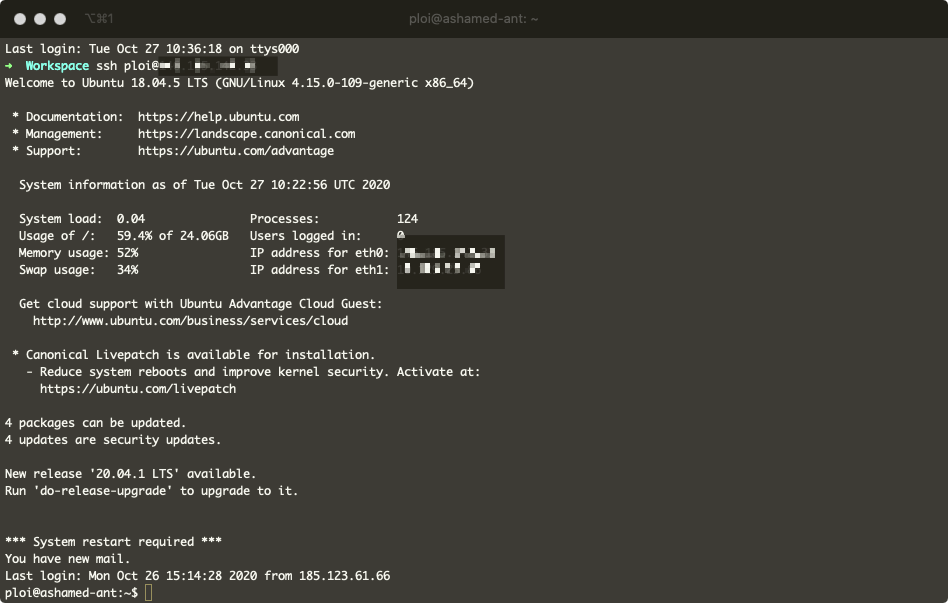
Connecting IoT Devices via SSH on Mac
With both your Mac and IoT device ready, it’s time to connect them using SSH. Here’s the step-by-step process:
- Open Terminal on your Mac.
- Type the following command:
ssh username@ip_address. Replaceusernamewith the username of your IoT device andip_addresswith the device’s IP address. - Press Enter. If it’s your first time connecting, you might see a warning message asking if you trust the device. Type
yesand hit Enter. - Enter the password for the IoT device when prompted.
- Boom! You’re now connected via SSH.
See? Not so scary after all. Now you can start sending commands and interacting with your IoT device securely.
Troubleshooting Common SSH Issues
Of course, things don’t always go smoothly. If you’re having trouble connecting via SSH, here are a few common issues and how to fix them:
- Connection Refused: Double-check the IP address and ensure SSH is enabled on the device.
- Permission Denied: Make sure you’re using the correct username and password.
- Timeout Error: Ensure both devices are on the same network and there are no firewalls blocking the connection.
If none of these solutions work, it might be time to consult the device’s manual or reach out to the manufacturer for support.
Enhancing Security with SSH Keys
While passwords are fine for basic security, SSH keys take things to the next level. Instead of typing a password every time you connect, SSH keys allow you to authenticate automatically. Here’s how to set it up:
- Generate an SSH key pair on your Mac by running the command:
ssh-keygen. - Follow the prompts to create and save the key pair.
- Copy the public key to your IoT device using the command:
ssh-copy-id username@ip_address. - Test the connection by running
ssh username@ip_addressagain. You should now be able to connect without entering a password.
SSH keys not only save you time but also add an extra layer of security since they’re much harder to crack than passwords.
Managing Multiple IoT Devices with SSH
As your IoT setup grows, managing multiple devices can become a challenge. Luckily, SSH has got your back. You can use SSH configuration files to simplify connections to multiple devices. Here’s how:
- Open the SSH config file in Terminal:
vi ~/.ssh/config. - Add entries for each device, specifying the hostname, username, and IP address.
- Save the file and exit.
- Now you can connect to any device by simply typing
ssh device_name.
This method saves you from remembering all those IP addresses and usernames, making your life a whole lot easier.
Best Practices for Secure IoT Connections
Now that you know how to connect IoT devices via SSH on your Mac, let’s talk about best practices to keep everything secure:
- Always use strong, unique passwords for each device.
- Enable two-factor authentication (2FA) whenever possible.
- Regularly update your devices’ firmware to patch security vulnerabilities.
- Limit access to your IoT devices by setting up firewalls or VLANs.
Following these practices will help protect your IoT ecosystem from potential threats.
Monitoring IoT Device Activity
Keeping an eye on your IoT devices is crucial for maintaining security. You can use tools like last and w in SSH to monitor login activity and detect any suspicious behavior. Additionally, consider setting up alerts to notify you of unauthorized access attempts.
By staying vigilant, you can catch potential issues before they turn into major problems.
Advanced SSH Techniques for IoT
Once you’ve mastered the basics, you can explore some advanced SSH techniques to further enhance your IoT setup:
- Tunneling: Create secure tunnels for transferring data between devices.
- Port Forwarding: Access services running on your IoT devices from anywhere.
- SSH Agent Forwarding: Use your Mac’s SSH key to authenticate with other devices through your IoT device.
These techniques might sound complicated, but with a little practice, you’ll be using them like a pro in no time.
Using SSH Clients for Easier Connections
If you’re not a fan of using Terminal, there are plenty of SSH clients available that make connecting to IoT devices a breeze. Apps like PuTTY (for Windows) or Termius (cross-platform) offer user-friendly interfaces and additional features like session management and key storage.
While Terminal is powerful, sometimes it’s nice to have a graphical interface to simplify things.
Conclusion: Level Up Your IoT Game with SSH
There you have it—everything you need to know about connecting IoT devices via SSH on your Mac. From setting up SSH to enhancing security and exploring advanced techniques, this guide has covered it all. By following these steps and best practices, you can ensure your IoT devices remain secure and functional.
So what are you waiting for? Fire up that Terminal app and start exploring the world of IoT. And don’t forget to share your experiences in the comments below or check out our other articles for more tech tips and tricks.
Table of Contents
- What is IoT and Why Should You Care?
- Why SSH Matters for IoT Devices
- Setting Up SSH on Your Mac
- Enabling SSH on Your IoT Device
- Connecting IoT Devices via SSH on Mac
- Troubleshooting Common SSH Issues
- Enhancing Security with SSH Keys
- Managing Multiple IoT Devices with SSH
- Best Practices for Secure IoT Connections
- Advanced SSH Techniques for IoT


Detail Author:
- Name : Filomena Kiehn
- Username : drew46
- Email : xlockman@rau.biz
- Birthdate : 1982-09-24
- Address : 2444 Hartmann Inlet Suite 210 South Leeview, IL 74635
- Phone : 1-641-384-1557
- Company : Dooley LLC
- Job : First-Line Supervisor-Manager of Landscaping, Lawn Service, and Groundskeeping Worker
- Bio : Eos amet alias tenetur iste consequatur eaque. Dolor harum molestiae atque. Inventore aliquam dolorem qui aliquam repellendus voluptas eaque. Vel quis blanditiis dolor nobis.
Socials
linkedin:
- url : https://linkedin.com/in/judson.johnston
- username : judson.johnston
- bio : Voluptatem dicta dolores occaecati architecto et.
- followers : 320
- following : 1337
instagram:
- url : https://instagram.com/jjohnston
- username : jjohnston
- bio : Est vel aut aperiam reiciendis. In quos rem omnis est. Vel cupiditate rem fuga suscipit.
- followers : 5541
- following : 2574
