SSH Remote IoT Device Tutorial: A Comprehensive Guide For Your Connected World
So, you’re here because you want to learn how to securely access your IoT devices remotely using SSH, right? Well, buckle up, my friend, because we’re diving deep into the world of secure shell connections and IoT devices. Whether you’re a tech enthusiast or someone looking to take control of their smart home gadgets from afar, this tutorial is going to be your ultimate guide. SSH remote IoT device management isn’t just a buzzword—it’s a powerful tool that can change the way you interact with your connected world.
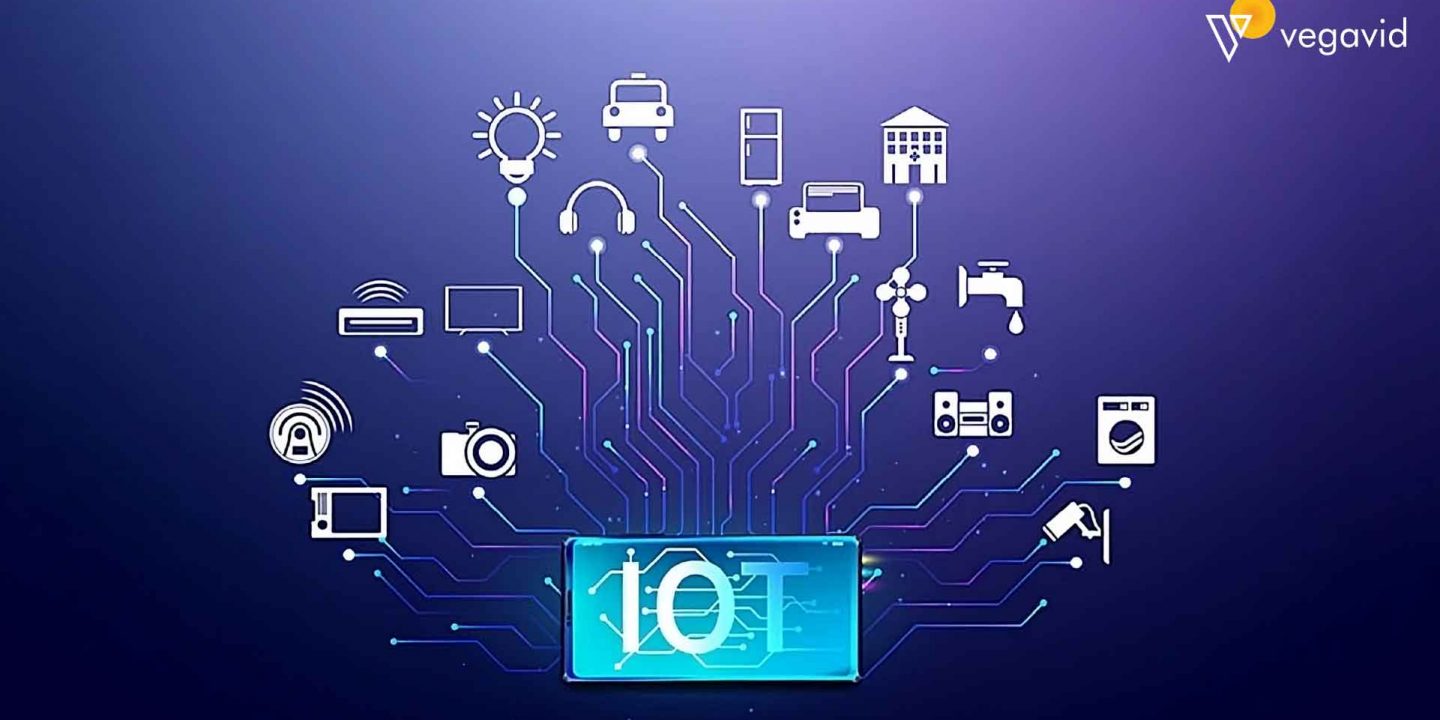
Let’s face it, IoT devices are everywhere these days. From smart thermostats to security cameras, our lives are increasingly intertwined with technology. But what happens when you need to access these devices remotely? That’s where SSH comes in. It’s like having a secret handshake with your gadgets, ensuring that only you can control them, no matter where you are.
This tutorial isn’t just about theory; we’re going to walk you through step-by-step instructions, tips, and tricks to make sure you’re not only setting up SSH correctly but also doing it securely. So, whether you’re a beginner or an advanced user, there’s something here for everyone. Let’s get started!
- Aloce Rosenblum Onlyfans Leak The Truth Behind The Viral Storm
- Alicia Rosenblumm Leaks The Untold Story You Need To Know About
Here’s a quick overview of what we’ll cover:
- Understanding SSH and its role in IoT
- Setting up SSH on your IoT device
- Securing your SSH connection
- Advanced SSH configurations
- Troubleshooting common issues
What is SSH and Why Use It for IoT?
SSH, or Secure Shell, is a cryptographic network protocol that allows you to securely connect to a remote device. Think of it as a secure tunnel between your computer and your IoT device, where all communication is encrypted and protected from prying eyes. For IoT devices, SSH is a game-changer because it gives you full control over your gadgets without compromising security.
Here are a few reasons why SSH is perfect for IoT:
- Mckinley Richardson Onlyfans Review A Comprehensive Look At Whatrsquos Worth The Hype
- Morgan Vera Nude Leak The Truth Behind The Viral Sensation
- Security: SSH encrypts all data exchanged between your device and the server, making it nearly impossible for hackers to intercept your information.
- Reliability: SSH connections are stable and can handle complex tasks, making them ideal for managing IoT devices remotely.
- Flexibility: You can use SSH on virtually any platform, from Linux to Windows, ensuring compatibility across devices.
Now that you know why SSH is so important, let’s dive into how you can set it up for your IoT devices.
Setting Up SSH on Your IoT Device
Setting up SSH on your IoT device might sound intimidating, but trust me, it’s easier than you think. Follow these steps, and you’ll be up and running in no time:
Step 1: Enable SSH on Your Device
Most IoT devices come with SSH disabled by default for security reasons. Here’s how you can enable it:
- Log in to your device’s web interface or command-line interface.
- Look for the SSH settings under the “Network” or “Security” section.
- Enable SSH and save the changes.
Pro tip: If you’re using a Raspberry Pi, you can enable SSH by creating an empty file named “ssh” in the boot partition.
Step 2: Find Your Device’s IP Address
Once SSH is enabled, you’ll need to know your device’s IP address to connect to it remotely. You can usually find this information in the device’s settings or by running a command like:
ifconfig or ip addr
Take note of the IP address, as you’ll need it in the next step.
Connecting to Your IoT Device via SSH
Now that your device is ready, it’s time to connect to it using SSH. Here’s how:
Option 1: Using the Command Line
If you’re comfortable with the command line, connecting via SSH is as simple as typing:
ssh username@IP_address
Replace “username” with your device’s username and “IP_address” with the IP address you noted earlier. You’ll be prompted to enter your password, and voilà—you’re connected!
Option 2: Using an SSH Client
Not a fan of the command line? No problem. You can use an SSH client like PuTTY (for Windows) or Terminal (for macOS) to connect to your device. Simply enter the IP address and username, and you’re good to go.
Securing Your SSH Connection
Security should always be your top priority when working with IoT devices. Here are some tips to make sure your SSH connection is as secure as possible:
- Use Strong Passwords: Avoid using simple passwords like “123456” or “password.” Instead, opt for complex combinations of letters, numbers, and symbols.
- Enable Key-Based Authentication: This method uses public and private keys instead of passwords, making it much harder for hackers to break in.
- Change the Default Port: By default, SSH uses port 22. Changing this to a non-standard port can help deter automated attacks.
Remember, security is an ongoing process. Regularly update your device’s firmware and monitor for any suspicious activity.
Advanced SSH Configurations for IoT Devices
Once you’ve mastered the basics, it’s time to take your SSH skills to the next level. Here are some advanced configurations you can try:
1. Setting Up Port Forwarding
Port forwarding allows you to access your IoT device from outside your local network. While convenient, it’s essential to set this up securely to avoid exposing your device to the internet.
2. Configuring SSH Tunnels
SSH tunnels are a great way to securely transfer data between your device and a remote server. This can be especially useful for IoT applications that require real-time data streaming.
Troubleshooting Common SSH Issues
Even the best-laid plans can go awry sometimes. Here are some common SSH issues and how to fix them:
- Connection Refused: Double-check your IP address and make sure SSH is enabled on your device.
- Authentication Failed: Ensure you’re using the correct username and password. If you’re using key-based authentication, verify that your keys are set up correctly.
- Timeout Errors: This could be due to network issues or a firewall blocking the connection. Try disabling the firewall temporarily to see if that resolves the problem.
SSH Remote IoT Device Management: Best Practices
Managing IoT devices remotely via SSH requires a bit of finesse. Here are some best practices to keep in mind:
- Regularly Update Your Device: Firmware updates often include important security patches, so don’t neglect them.
- Limit Access: Only grant SSH access to trusted users to minimize the risk of unauthorized access.
- Monitor Logs: Keep an eye on your device’s logs to detect any suspicious activity early on.
Real-World Applications of SSH in IoT
SSH isn’t just a theoretical concept—it’s being used in real-world applications every day. Here are a few examples:
1. Smart Home Automation
SSH allows you to remotely control your smart home devices, from adjusting the thermostat to checking security camera feeds.
2. Industrial IoT
In industrial settings, SSH is used to monitor and manage critical infrastructure, ensuring smooth operations and quick response to issues.
3. Environmental Monitoring
Scientists use SSH to collect data from remote sensors, helping them study climate change and other environmental factors.
Conclusion: Take Control of Your IoT Devices with SSH
And there you have it—a comprehensive guide to SSH remote IoT device management. From setting up SSH to securing your connections and troubleshooting common issues, you now have the knowledge and tools to take control of your connected world.
But remember, this is just the beginning. The possibilities with SSH and IoT are endless, so don’t be afraid to experiment and push the boundaries of what’s possible.
So, what are you waiting for? Grab your device, fire up your terminal, and start exploring the power of SSH today. And don’t forget to share your experiences in the comments below or check out our other tutorials for more tips and tricks. Happy hacking!


Detail Author:
- Name : Albin Prosacco
- Username : iwilliamson
- Email : labadie.roderick@lakin.org
- Birthdate : 1979-06-02
- Address : 135 Laurine Ferry Suite 430 Larsontown, NY 52583
- Phone : +1.513.315.7421
- Company : Smith, Weissnat and Kutch
- Job : Separating Machine Operators
- Bio : Et ullam sed similique sapiente nam voluptatem assumenda. Itaque eaque iure praesentium. Dicta qui vel pariatur molestias officiis odit non. Dolorem impedit veritatis quo eaque.
Socials
facebook:
- url : https://facebook.com/hilton_id
- username : hilton_id
- bio : Non id ea facilis. Minima deserunt maxime et necessitatibus.
- followers : 5050
- following : 1952
twitter:
- url : https://twitter.com/hhamill
- username : hhamill
- bio : Quod tempora quis soluta. Blanditiis quis voluptatem qui sint. Molestiae tempore beatae ut laborum harum nemo. Ut quasi et perspiciatis ab nulla impedit.
- followers : 327
- following : 1552
